
Starting with pre-smocked fabric makes this project easy breezy.
1. Measure: chest, straps, front and back length (optional to make it hi-low hemline)
2. Based on how much the smocked fabric stretches, you may want to reduce the chest measurement 2-5", once you have that circumference, add 2" total for seam allowance (this accounts for french seam at center back).
3. With the fabric folded in half, I cut the center back seam straight down, but this is where the dress could be cut A-line and flare out a bit.
4. Next mark the CF height and the CB height and draw a curve blended line connecting them. Be sure to have a 90 degree angle at the CB so the hemline doesn't turn out pointy.

5. Mark 1" for CB seam allowance, then measure from there to CF fold line and mark the side seam. Having these markings, you can mark placement of straps. I did 2" in from CF and CB.

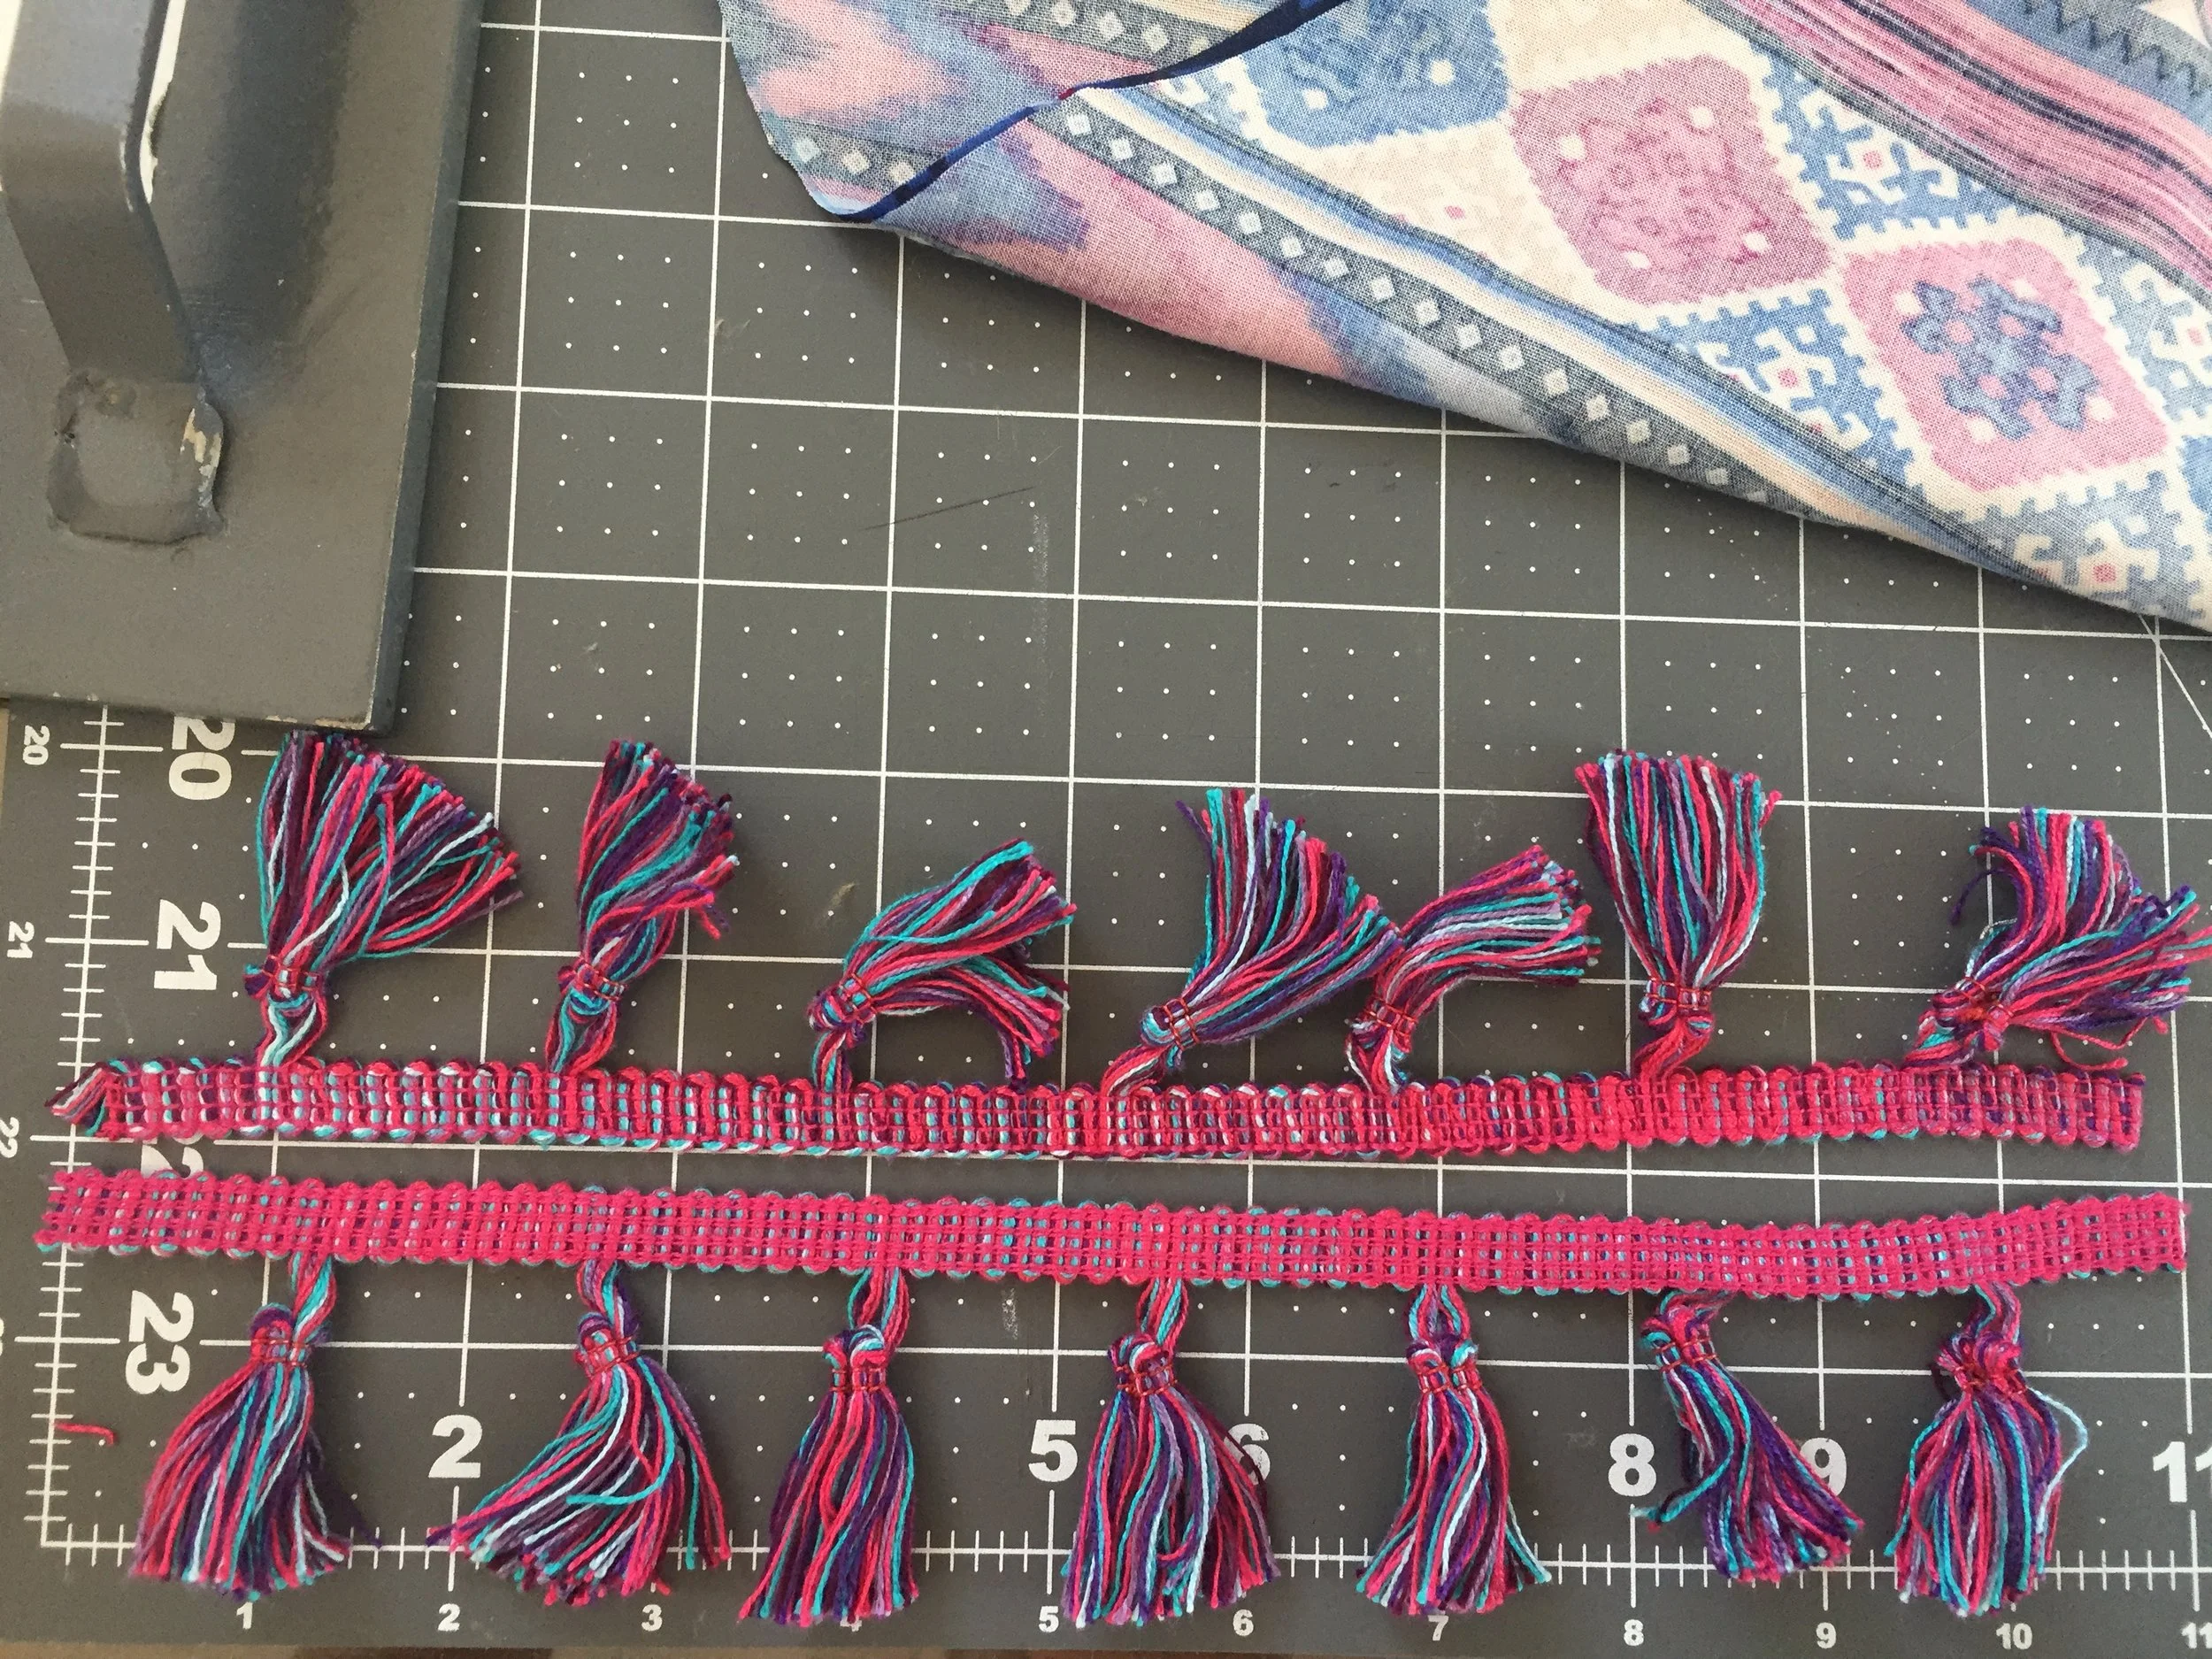
6. Cut straps to size (adding seam allowance). If they are thinner ribbon, you can fold each end under 1/2" or if they are thicker, you can use bonding tape and bias tape to clean the strap edge before attaching it to the dress.

7. Sew straps one at a time to back then loop down and sew the same strap to front.

Tip: If using non-bulky straps, you can place it bad side to bad side (raw edge of strap placed 1/2" below the top edge and stitch, then flip it up and stitch again), this will conceal the raw edge of the trim.


8. Sew CB seam via french seam (this is to keep it clean and avoid fraying without using an overlock machine). 5 needle stitch or single needle with overlock finish is the easiest if you have those machines, in camp we only use a single needle.

A) line up CB seam bad side to bad side and stitch 1/2" seam allowance.
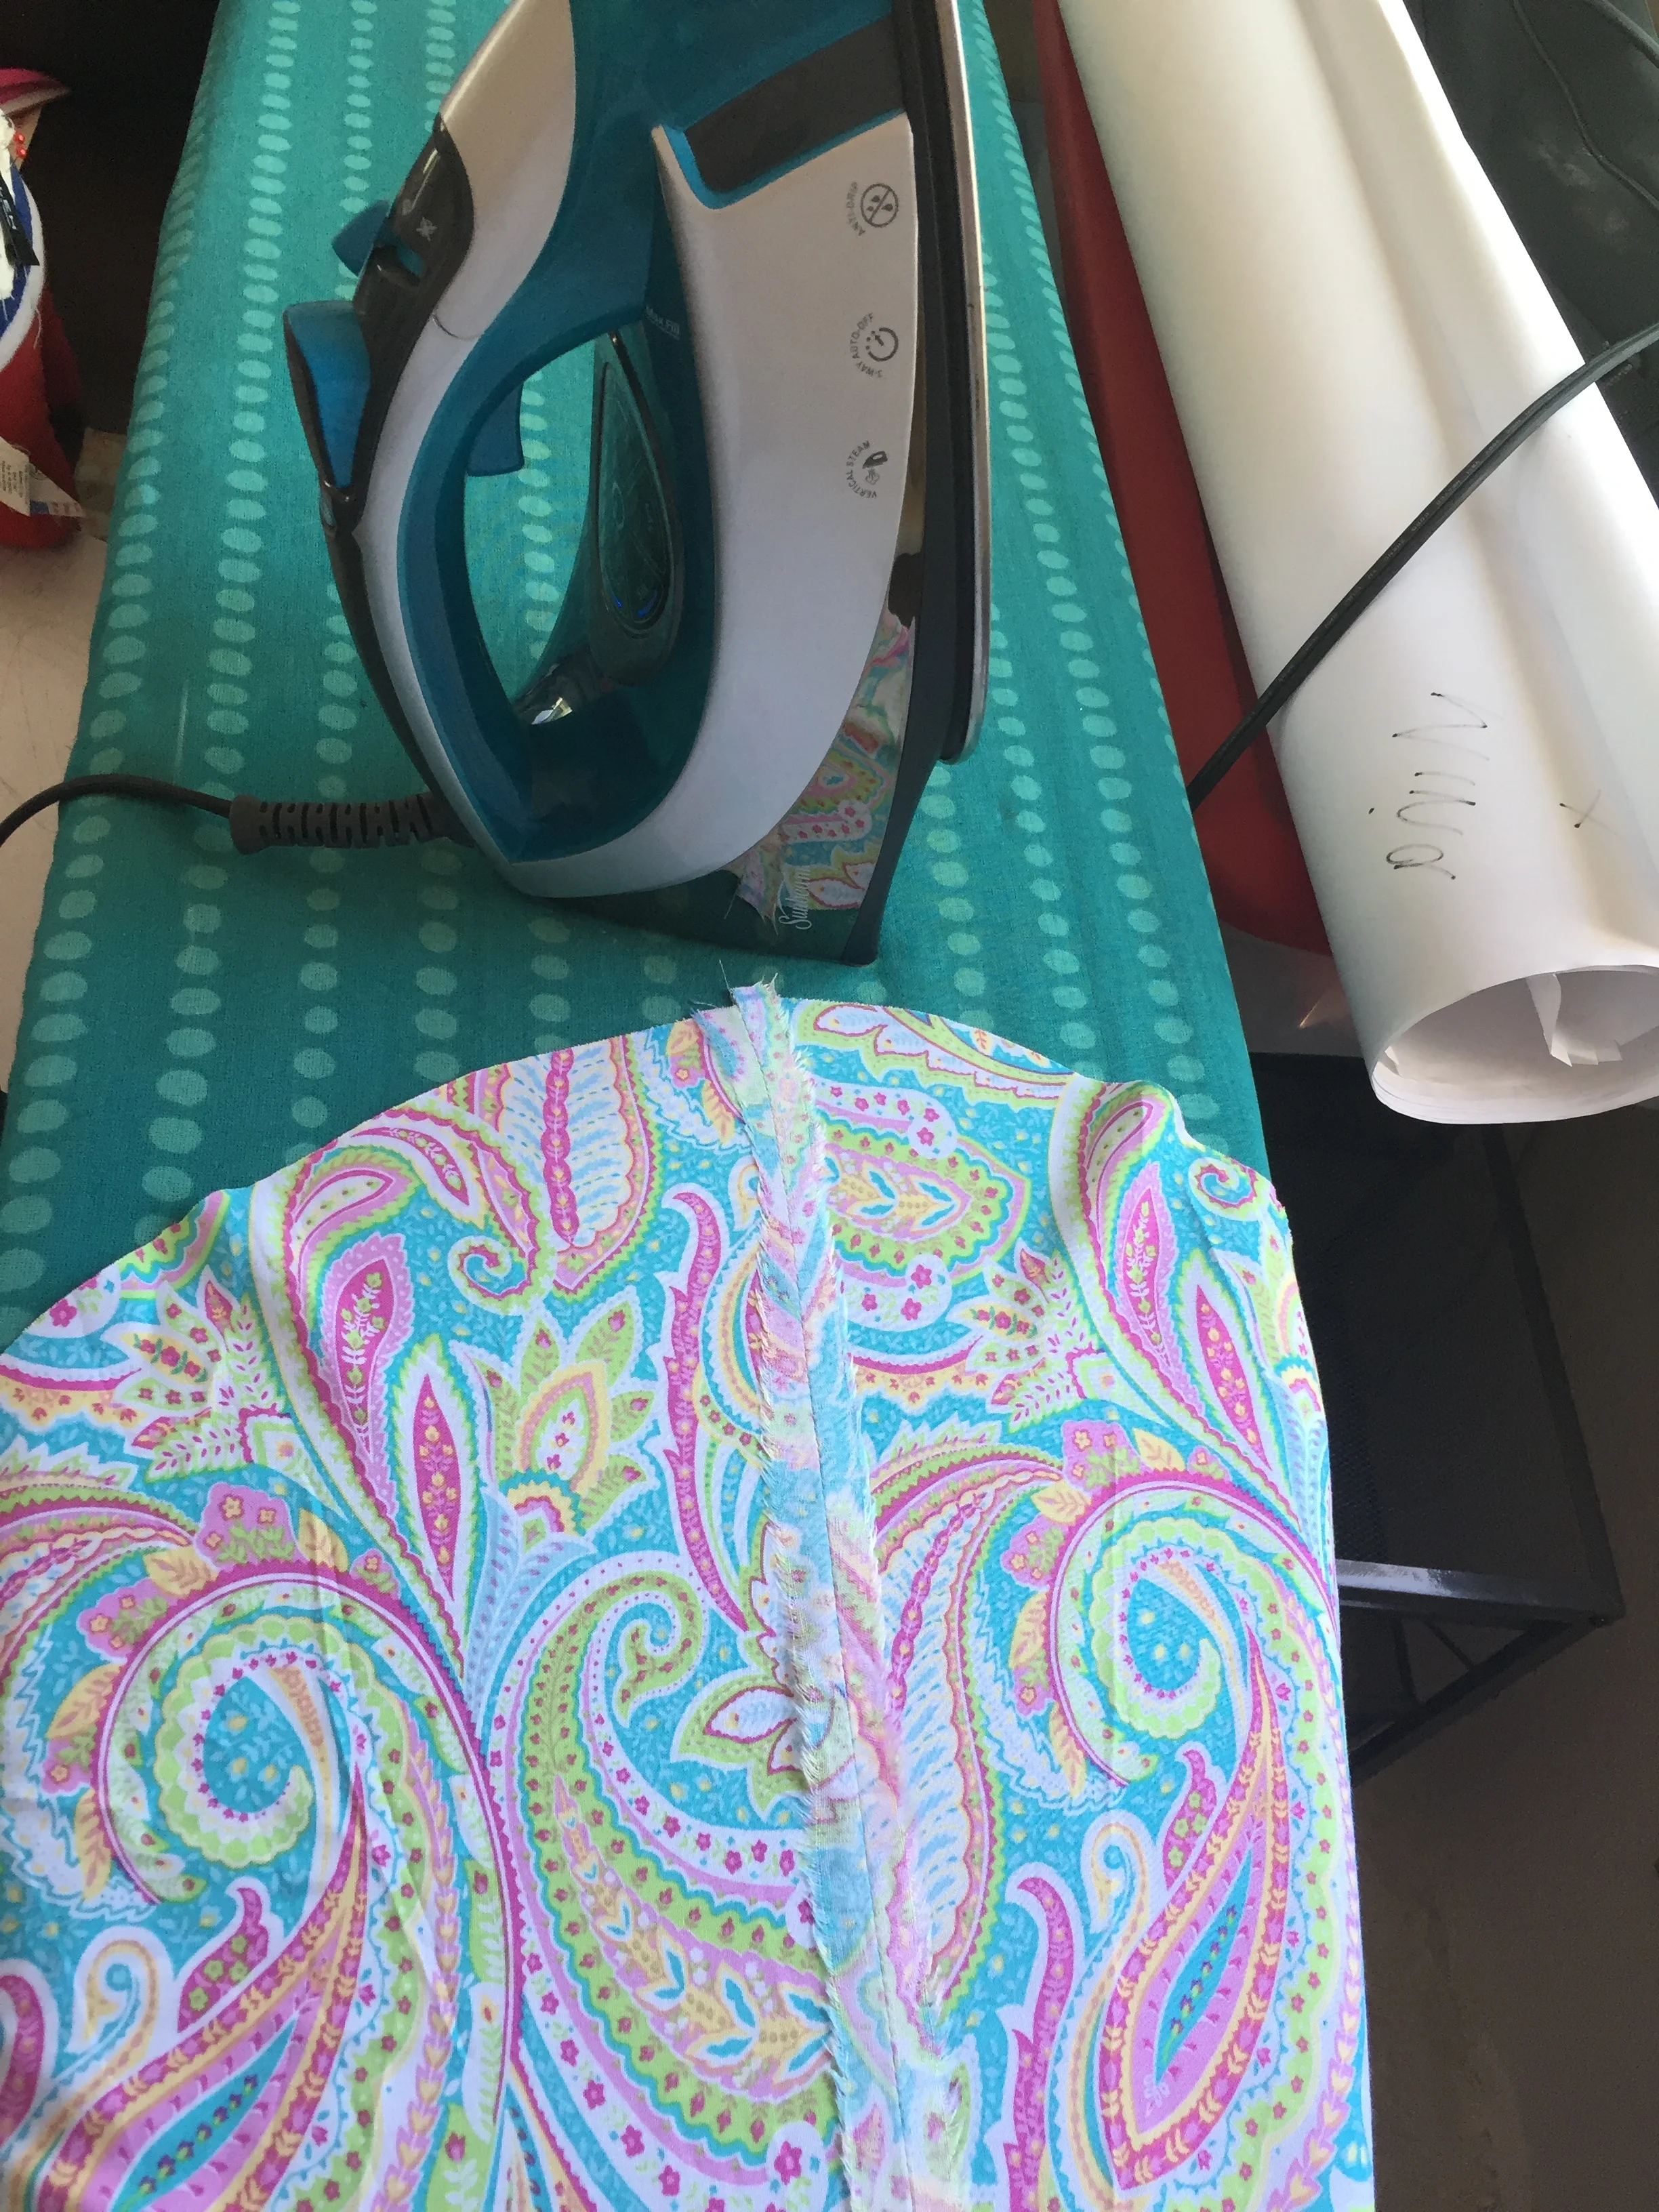
B) Iron seam open
C) Trim off each side separately down to 1/4"
*Skipping this step makes the end result bulky and messy.


D) Finish the french seam with a stitch at 1/2" good side to good side, concealing the raw edge completely.
9) Hem the bottom either by turning the edge up twice and doing a pin hem (requires a little bit of skill if you chose hi-low) or orvelock the edge, do a basting stitch and gather it, then flip up and stitch. This is because you are sewing on a curved hemline, if the hemline is straight, this step will not be tricky.


End result in 3 different fabrications:


A looser fit is achieved with the style that has a few rows of smocking at the top and a few more at the waist.

Since this was smocked in the entire bodice, it needed more width, for this fabric I would only reduce the chest measurement by 2" to avoid the tighter fit.
I offered to make it looser for her, but she refuses to take it off for now!

Third style uses a cotton, making the dress one again pretty snug, so with this fabrication I would only reduce the chest measurement by 2".

She also didn't find these ribbon straps comfy, so I changed them out to the poms (see below)

